Fall Season: Apple Pie Recipe
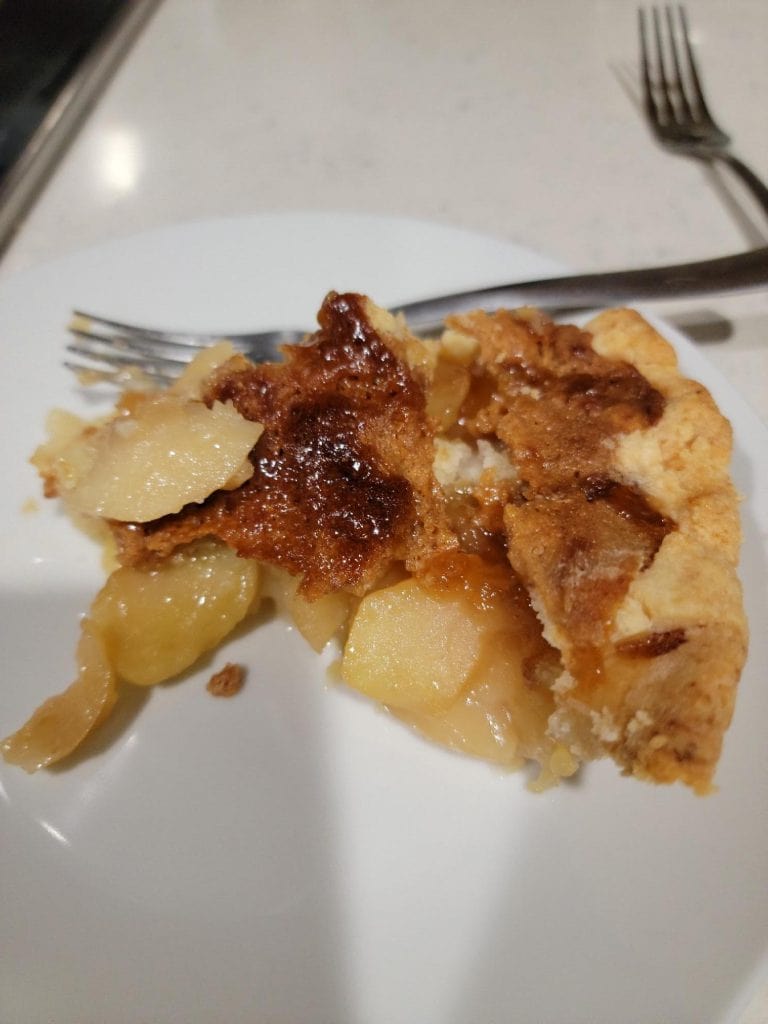
Fall has finally arrived!
Many people have their own way of celebrating the changes of the season, whether it be the pumpkin spice latte in place of their usual, the apple cider wax melts in their burners or the purchase of the burnt orange coats and warm fussy socks. For us… one of our all-time favorite ways of celebrating is with the smell of warm apple pie filling our homes with mouths nearly drooling till the vanilla ice cream is plopped on top and served.
…and we would like to share that experience with you.
Don’t have a recipe of your own? Give this quick and easy one a try. It will not disappoint.
Pre: 30 Min
Cook: 1 Hour
Servings: 8
Makes: a 9-inch pie

INGREDIENTS:
_ 7-8 Granny Smith Apples
_ 1/2 C unsalted butter
_ 3 TB all purpose flour
_ 1/2 C white sugar
_ 1/2 C packed brown sugar
_1/4 C of water
_ 1 thawed 9-in double crust pie pastry
INSTRUCTIONS:
_ Peel and core apples. Slice into thin strips and set aside.
_Preheat your oven to 425 degrees F (220 C).
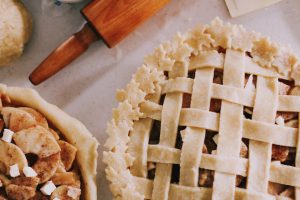
_Press one pastry into the bottom and up the sides of a 9-inch pie pan. Roll out the remaining pastry and cut into thin strips to make the lattice topping.
_ In a pan melt butter over medium heat. Once melted add add flour to form a paste. Cook about 2 minutes until fragrant.
_ Add both sugars and water to the paste and bring mixture to a boil. Reduce the heat to low and simmer for 3 to 5 minutes then remove from heat.
_ Meanwhile place apple slices into the pie crust pie creating a mound.
_Pour the sugar paste over the top of the apple slices reserve a bit to brush your lattice topping with
_Using the remaining pie crust you cut into strips create a lattice topping and brush with remaining sugar mixture.
_ Bake in your preheated oven for 15 minutes. Then reduce the temperature to 350 degrees F (175 C) and continue baking until apples are soft roughly 35 to 45 minutes.
TOP WITH:
_ Vanilla Ice cream
_Serve slightly warm
_ Tag us on Instagram @Windermere_Whidbey_Island
_Enjoy
View this post on Instagram
Squash
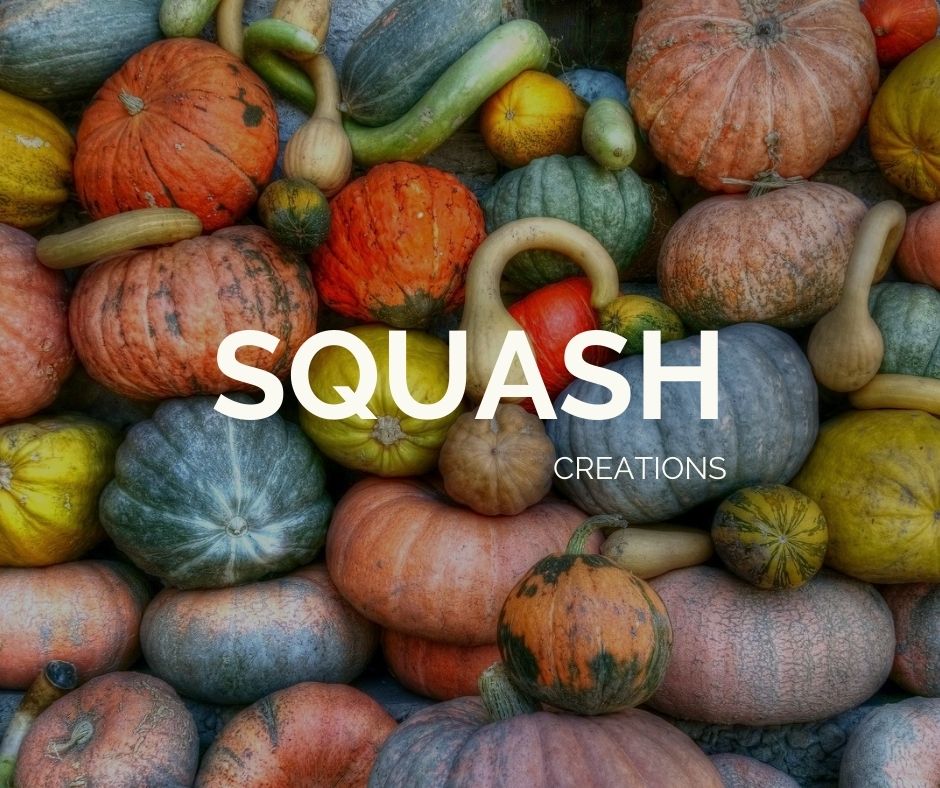

It is that time of year when the fruits of our labors begin filling up not only our dinner plates but also become an integral part of beautifying the spaces around us. You guessed it, we are talking about SQUASH.
If you are anything like some of these green thumb agents, you have spent the past several months pouring your heart and soul into your garden prepping to produce these beautiful and tasty gems. But it is quite possible that you now have so many you do not know what to do with them. If that is the case keep reading for places you can donate your extras…. like my office.
Perhaps you are more like those of us that take advantage of the local Farm to Table programs our local farm community has to offer. You may have begun to receive these tasty treats in your special boxes. Keep reading to discover one of my favorite recipes.
BUT….maybe your most like me and you are… “Growing them…well… in the grocery store”. Let’s be honest autumn is my favorite time of year, but I wasn’t blessed with a green thumb. I am more like a big kid eagerly waiting for Shermans Farm to open so I can enjoy the full experience of finding the perfect squash for tonight’s dinner. I like sipping my warm cup of cider while riding on the tractor taking in the beautiful Whidbey farm views and snapping pictures of my kids next to the biggest pumpkins they can find.

Regardless of who you are, there is one thing we all have in common this season. We will all come into contact with SQUASH!
The majority of people will likely only use them as decorations, and that is ok. There is no denying these power-packed veggies are beautiful and studies show that sprucing up the space around you will make you feel happier. So, first things first…
Let’s Get Crafty:
CENTERPIECE

It can take as little or as much creativity as you desire. Place a variety of squash together with some leaves, flowers, candles, or acorns to spruce up your gathering space. For more inspiration follow one of our favorites local to our area: Erin Benzakein, founder of Floret. Floret is a Skagit Valley family-owned farm and seed company and New York Times Best Selling Author of A Year in Flowers for tutorials on arrangements.
OVERSIZED ACORN WITH ACORN SQUASH
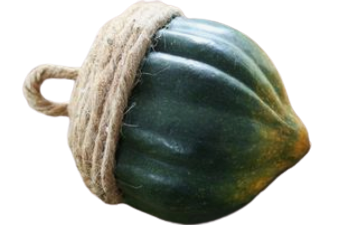
Supplies you will need:
- Hot Glue Gun
- Hot Glue
- Twine
- Acorn Squash
Begin by placing a dab of glue at the top of your squash. Make a loop in the twine and attach the top of your squash. Place glue around the top ¼ of the squash and being laying your twine in a circular motion starting at the stem and continuing down to a ¼ of the squash, carefully laying each layer of twine up against the last.
For the Tummy:
Most importantly, squash provides a plethora of nutrients for our bodies. It is quite literally called a power-pack veggie. They are high in Vitamin A, B6, and C, folate, magnesium, fiber, riboflavin, phosphorus, and potassium.
The best thing about squash is that there are so many ways to eat it. I love it SO MUCH I am attaching one of my simple favorites.
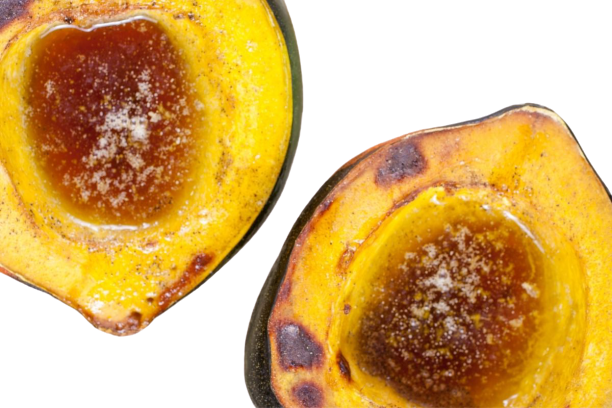
BAKED ACORN SQUASH WITH BUTTER & BROWN SUGAR
Serves: 2-4 | Preparation: 10min | Cooking: 1 HR 15 min
Ingredients:
- 1 Acorn squash
- 1 Tbsp Butter
- 2 Tbsp Brown Sugar
- 2 teaspoons Maple Syrup
- Dash of Salt
DOWNLOAD THE FULL RECIPE CARD HERE!
Uplift the Community with Your Extras:
With all joking aside, if you have been blessed with having too much squash this year, the North Whidbey Help House in Oak Harbor, and Good Cheer Food Bank in Langley would love to have your donations.
Stay blessed. Have a favorite squash recipe or idea you want to share? Let us know in the comments below.

If You Enjoyed Reading This You Might Also Like:

 Facebook
 X
X
 Pinterest
 Copy Link
